
Our basement bathroom doesn't get a lot of use unless we have guests staying over, but I like to keep a few things like Q-tips, nail clippers, etc. in there. I wasn't happy with the storage containers that I have been using, so I decided to decorate some baby food jars to use instead.
You can decorate any size/shape/type of jars that you prefer and it's easy to customize them to whatever your theme or color scheme is. These also make cute gifts, both empty or filled with candies, baking, or whatever you like.
Hopefully I can give you enough ideas to get inspired to customize your own jars. There are a million ways to decorate them, but here's what I did.
MATERIALS
- clean, dry jars with lids
- glue gun
- scissors
- ribbon
- contact paper or similar
1. Make sure your jars and lids are thoroughly washed and dried. Remove any labels and as much glue as possible.

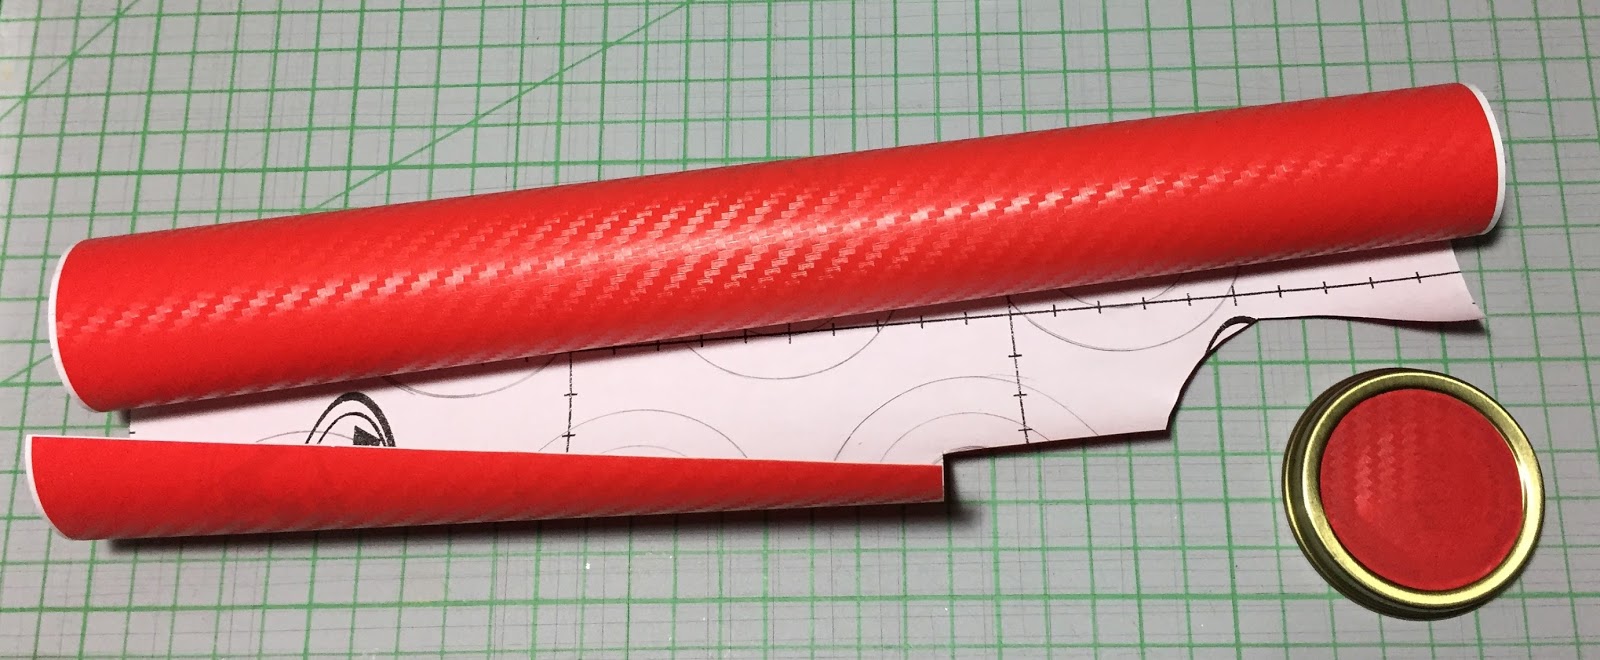
2. If there is writing on your lid and/or you don't like the color of it, you can either spray paint it or cover it. I chose to cover mine. I cut a circle of contact paper and applied it to the top of the lid.
3. My lid had writing on the sides too, so I used my glue gun to attach ribbon to the sides to cover the writing.

Now the lid is done.

4. To add ribbon to the jar, decide how you'd like the ends to be finished. For some jars I cut the ribbons slightly longer than the distance around the jar and glued the ends flat, just like on the lid. Choose which side will be the "back" of the jar and glue one end of the ribbon there, add glue all the way around in sections and press the ribbon to the glass, finishing by overlapping the ribbon slightly where you started.
For other jars, I cut the ribbons about 8 inches longer than the distance around the jar and tied the ends in a square knot, then trimmed them. (You could also cut the ribbon even longer and tie a knot and bow.)
Start by gluing the middle of the ribbon to the "back" of the jar.

5. Bring the ends around to the front and tie them into a square knot (left over right and under, right over left and under). Add a dab of glue under the knot to keep it in place.

6. Trim the ends of the ribbons. Put the lid back on. DONE.

Have fun creating a variety of beautiful jars and filling them with fun and useful things.

The possibilities are endless!

No comments:
Post a Comment